Showing posts with label Challenge 2011. Show all posts

Friday, July 8, 2011

T-Shirt Dress Tutorial

Project #3 of The Challenge is complete!  I made a...
T-Shirt Dress!
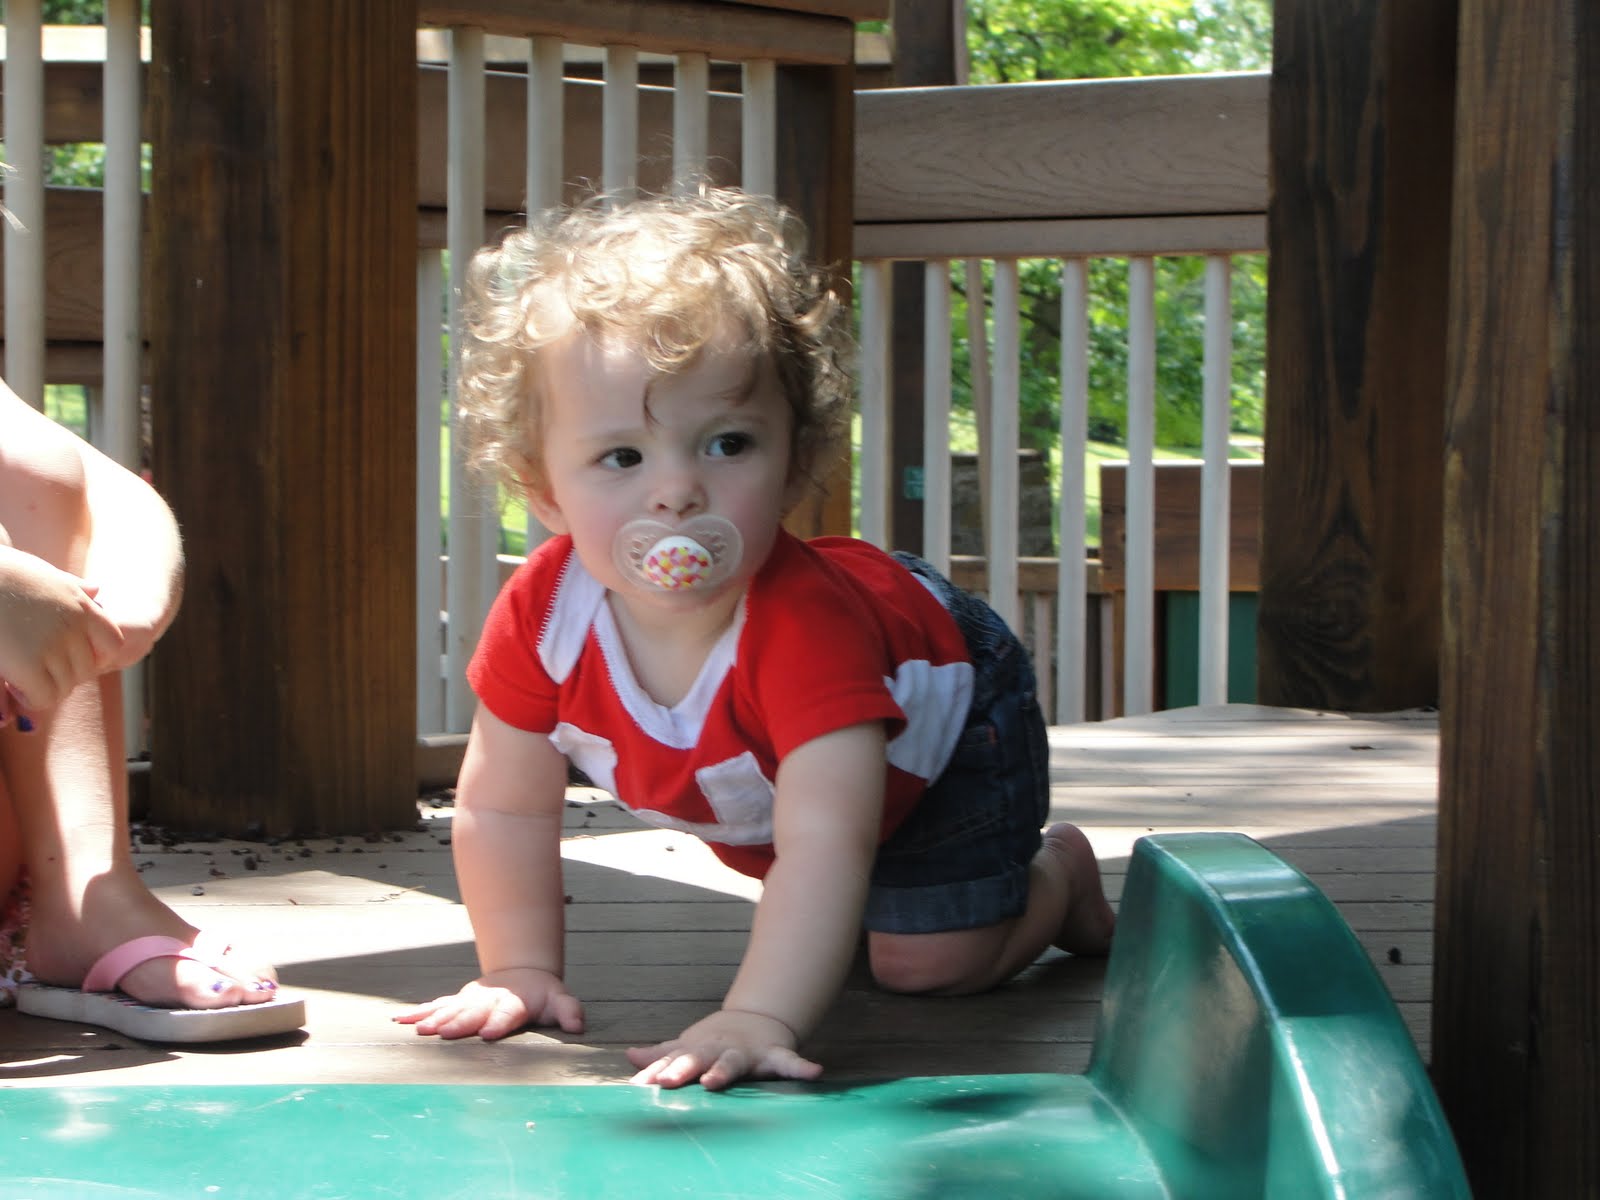
It turned out great and I learned a lot while making it, However my model was not in the mood for a photo session.  (Please ignore the mess, we were multi-tasking with blogging and laundry) It was SO easy.  Remember, before I started this blog I had never sewn anything other than a straight line for a quilt, so my sewing level is truly beginner. I tried to take a ton of pictures, so it looks complicated, but it really was easier than the t-shirt from challenge #1!  
I started with the basic shape of the dress.  I cut the pattern using a clothing gift box and looking at one of Ellie's existing dresses inside out.  You can see it is just a rough a-line.  
The fabric I used was an old work shirt of my husbands.  Basic t-shirt material.  Notice I used the bottom hem of the shirt for the bottom of the dress?  It saves time and looks more professional when done.  
I cut the front and a back at the same time (see pins to keep it from slipping) and then sewed them together.  

Now for the sleeves.  I used the same pattern from the t-shirt project.  It is just a simple shape.  I also used the finished hem of the shirt sleeves for the bottom of the sleeve (this is important for the elastic later).  
See?  I was able to thread the elastic through the finished hem on the sleeve.  Handy?  Right?  
Once you have the elastic threaded, scrunch it up to size, fold it in half (right sides together) to sew down the side.  
Make sure you sew all the way down to the edge to catch the elastic.  You can sew through it a couple of times to make sure it stays put.  Next you pin the sleeve inside the dress (remember to turn it right side out first)
To imbilish the dress I used quilt binding.  Next I pinned it around the neck opening of the dress, keeping in mind I would need room for elastic.  (You wouldn't even need to put elastic in the neck opening if you didn't want to)
I did the same for a waistband.  Then I sewed along the top and the bottom of the waistband leaving room in the middle for elastic (also optional).   
If you are going to make an elastic neck opening and waistband, you will need to save room to insert it.  
I had some help putting the elastic in the dress...  What a good little helper?
Once the elastic is in, cut it to size and finish sewing up the openings.  You now have a pretty little dress for your pretty little girl! 
I made a cute little diaper cover too!  Details on that at a later date!


I'm Linked Up at (This is my first Link party... How exciting)


Thursday, July 7, 2011

Zebra Dresser Tutorial

Project #2 of The Challenge is complete!

I spent the holiday weekend working on this dresser and just finished up tonight!  I originally wanted wanted to create something fun for Ellie's bedroom. But as the project evolved, I realized it's not quite right for her room, but is perfect for the groovy vibe I want to create in the basement play room (see future blog posts, this is just a figment of my imagination right now...)
I can't seem to find the before pictures - but you can imagine, old, press board dresser.  I got it from my grandmother earlier this year when she downsized from assisted living to a nursing home.

Step 1 - Paint it white - I used 2 cans of spay paint - but you could use anything you have laying around

Step 2 - Sketch out the stripes with pencil.  I used google images to find some inspiration.  It was a lot easier than trying to free hand it from memory.  Don't be too picky because zebra's are not all uniform!

Step 3 - Black paint - I bought a tiny pint of glossy black paint and brushed it on with a cheap children's art brush.  Again, don't freak if you're not perfect.  It will turn out great!

Alterations I wish I would have thought of before starting - I wish I had thought to put a layer of crackle finish on before painting it white.  I think the distressed look would be cool, but I'm happy with how it turned out.

Thursday, June 30, 2011

I Did It! I Did It!

It's done! It's done!  
I have finished my first project for The Summer of 2011 Challenge!  Woot!  Woot!  Holla!

Ellie's T-shirt is complete and she will wear it after her nap for our lunch and play date!  I don't often wish she would wake up early!

Now of course I wouldn't be me if I didn't point out a few mistakes...

There is definite puckering in the sleeves and the flappy things don't line up!

Oh well, more to work on in the future.  I'm so happy it's done!

And the final product:


Tuesday, June 7, 2011

11 in the Summer of 11 Challenge

In the summer of 2011
(defined as June 11th - August 29th because that is the true time a teacher has off - interestingly enough roughly 11 weeks)

I will - Create, Document, and Blog - about
11 Different Crafts from my Crafting Bucket List

Here is my list in no particular order:
1. One T-shirt for Ellie
2. One dress for Ellie
3. A summer skirt for me
4. Painted dresser - Zebra print and it will be so cool
5. I've wanted a headboard for my king size master bed for 5 years.  I will make something awesome!
6. Stuffed pie making pretend play toys I saw at the children's museum.  (they are cooler than I can explain)
7. A rug - crochet or braided
8. I will master a salsa recipe and canning process for my garden produce
9. Homemade Hummus and homemade pita chips
10. Knit produce bags
11. I'm leaving this up to whatever moves me - it could be baby booties or something for my husband.  His suggestion (other than the ones he had that were not appropriate for the bloggosphere) was a cowboy hat made from an old beer case.  Who knows, that might make the cut!  :)


All made items will be from recycled or re-purposed materials and a very meager budget.  Ideas may come from other blogs or from the crevices of my brain.  
The picture of the booties above is of past work done to demonstrate I can create something snazzy.  I got the wonderful pattern at http://stardustshoes.blogspot.com/2006/10/cloth-shoe-pattern.html before I even got this crazy idea for this crazy blog!